How to Set Net Terms for a Customer
Last updated: June 30, 2026
Step-by-Step Instructions on Billing term level
Navigate to the Customer page
Click Billing terms
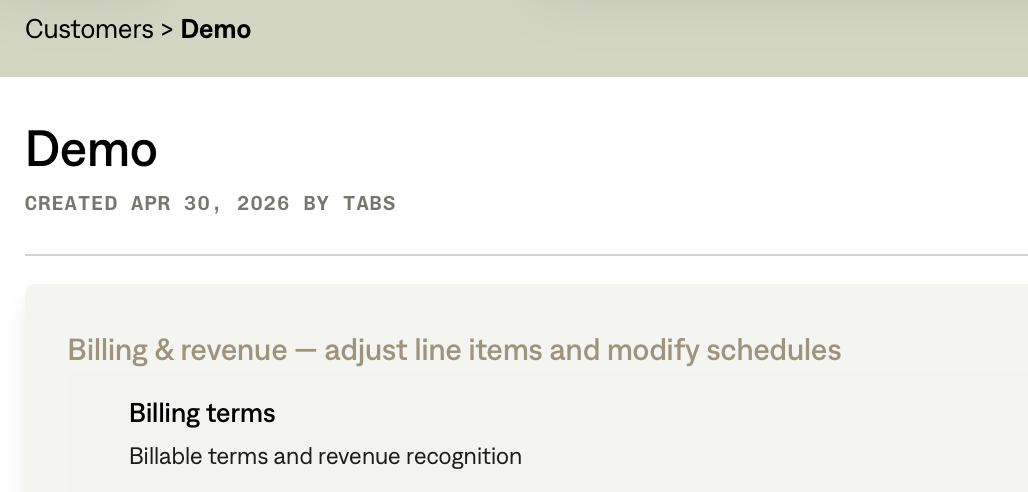
Locate the Billing term: Find the specific term for which you want to set or modify the Net terms.
Edit the item: Click on the 'Billing schedule'
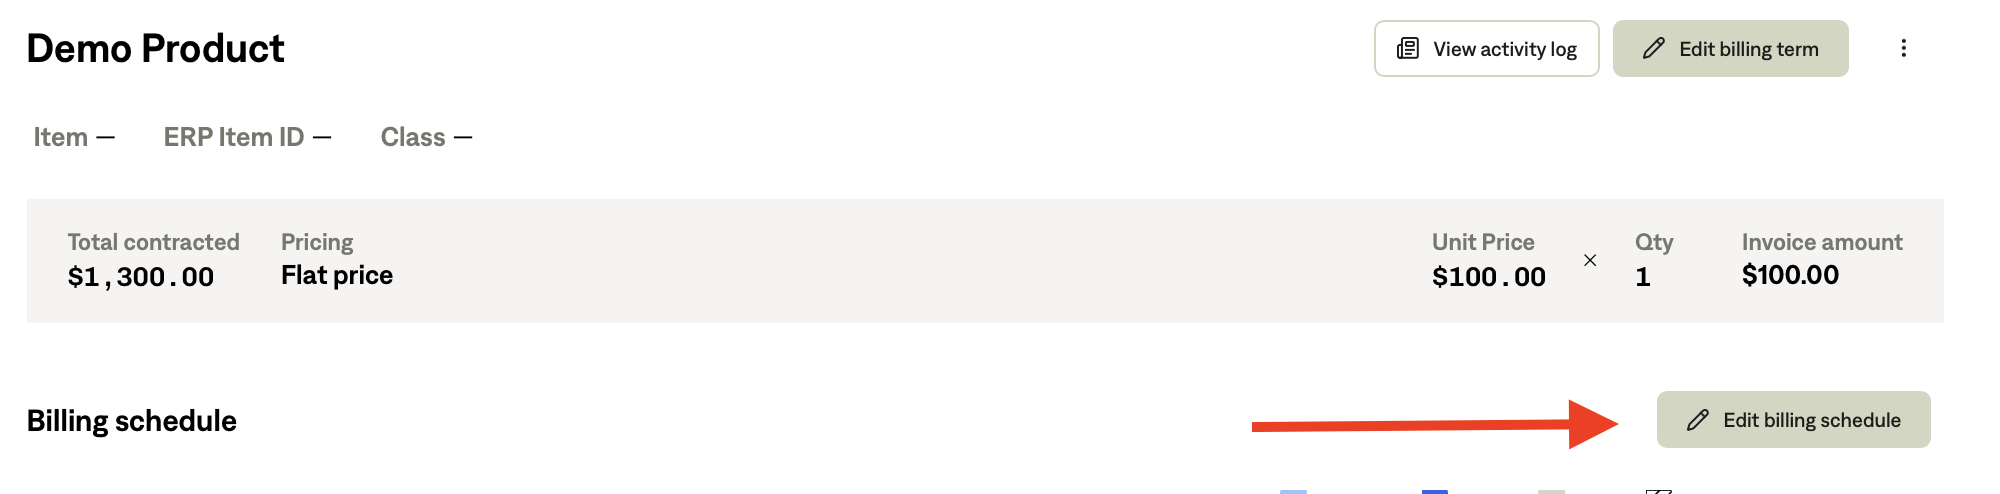
Find the Net terms Field: In the editing interface, look for the section related to payment terms.
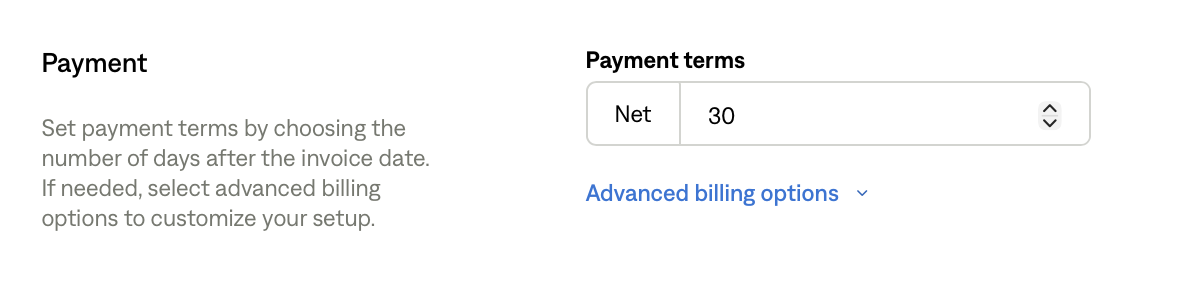
Adjust Net terms: Enter the appropriate payment terms for the customer.
Save Changes: Ensure you save the modifications to update the payment terms.
If Net terms is greyed out, it typically indicates that invoices have already been issued for that term, and the cadence will be locked to safeguard your billing history.
Step-by-Step Instructions on Invoice Level (if you just want to edit payment terms for one invoice)
Click into invoice in which you want to edit payment terms for
Edit invoice: Click on the 'Edit' button for the chosen invoice.
Find the Net Terms Field: In the editing interface, look for the section related to Net terms on the top left of the invoice.
Adjust Net Terms: Enter the appropriate Net terms for the invoice.
Apply Changes: Ensure you save the modifications to update the Net terms.
Tips & Best Practices
Contract Alignment: Ensure that the Net terms you set align with the customer's contract.
Consistency: For clarity and ease of management, try to maintain consistent Net terms across line items for the same customer when possible. This will ensure all item will be consolidated on the same invoice.
Net terms on one-off invoice line item additions cannot be adjusted — they inherit from the invoice
Troubleshooting / Common Errors
Changes Not Saving: If changes aren't saving, try refreshing the page and re-entering the information. If the issue persists, contact support.