How do I attach documents to invoices?
Last updated: January 30, 2025
Summary / Introduction
This article explains how to attach documents, such as W9 forms, to invoices in the Tabs Platform. You'll learn two methods: attaching documents at the account level and at the individual invoice level.
Step-by-Step Instructions
Method 1: Attaching Documents at the Account Level
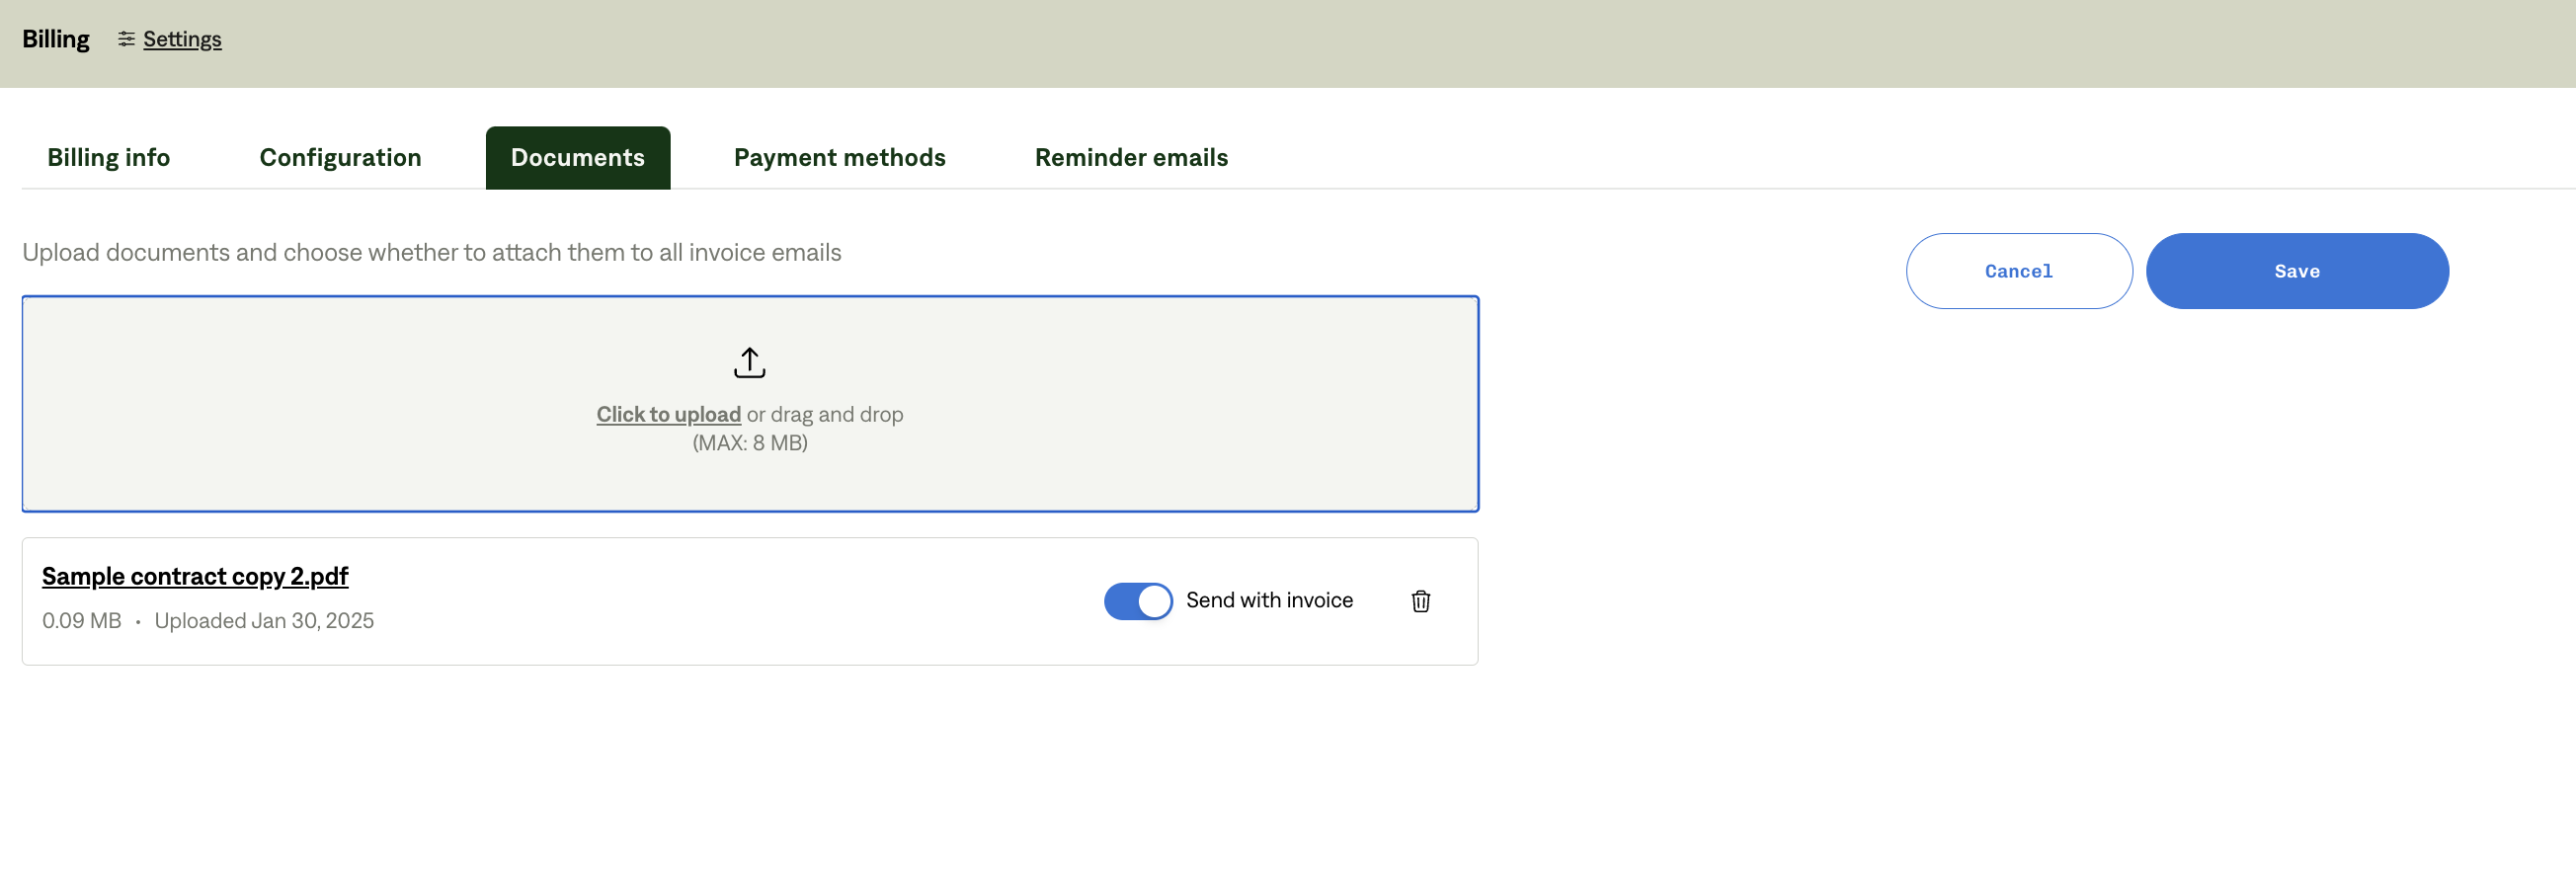
Navigate to Billing Settings: Go to the documents section in billing settings (https://app.tabsplatform.com/merchant/billing/settings/documents).
Upload Document: Upload the document you want to attach (e.g., W9 form).
Set Attachment Preference: Toggle the option to send the document with each invoice.
Method 2: Attaching Documents to Individual Invoices
Create or Edit Invoice: Ensure the invoice is in DRAFT state.
Add Attachment: Look for an option to add attachments to the invoice.
Upload Document: Select and upload the document you want to attach.
Tips & Best Practices
Account-Level Attachments: Use this method if you want to send the same document with every invoice for a particular account.
Invoice-Level Attachments: This is useful for attaching specific documents to individual invoices or for one-time attachments.
Troubleshooting / Common Errors
Can't attach to sent invoices: Ensure the invoice is in DRAFT state before attempting to add attachments.
Document not appearing on invoices: Double-check that the toggle for sending with each invoice is enabled in the billing settings.
Note: Currently, there is no option to automatically attach documents only to the first invoice sent to a customer. This feature has been suggested for future development.