How do I integrate with HubSpot?
Last updated: August 5, 2026
Overview
The HubSpot integration keeps your customer, contract, and invoice data in sync between Tabs and HubSpot, so your team can manage billing without duplicating work across systems.
Data consistency — Tabs, HubSpot, and your ERP stay aligned on the same customer data.
Automated contract ingestion — Tabs pulls contract documents directly from HubSpot, removing the need to manually upload or send them.
Invoice visibility — Account managers can see Tabs invoices directly on the HubSpot deal, without leaving HubSpot.
Custom field sync — Tabs can pull HubSpot Company-level data into Tabs at the Customer and Invoice level.
What's included
Connecting HubSpot gives you a full, configurable sync between the two systems — which objects sync, in which direction, and how fields map between them. For the complete breakdown of what can be synced and how, see the HubSpot Configuration Guide.
How to connect
Connecting HubSpot is a two-part process: you authenticate first, and configure your sync settings afterward. You don't need to decide on field mappings or sync filters up front.
Conduct Pre-Integration Steps. Before integrating, review this article on what to do before connecting to HubSpot.
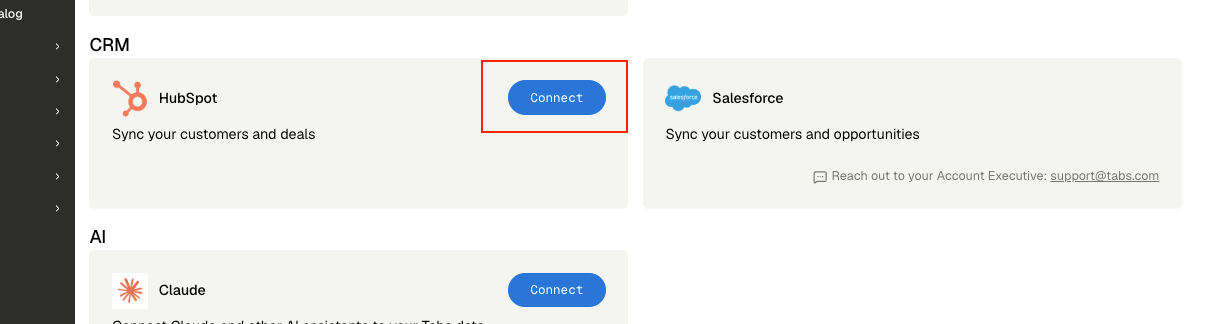
Start the connection. From Tabs, go to Integrations and click Connect on the HubSpot tile.
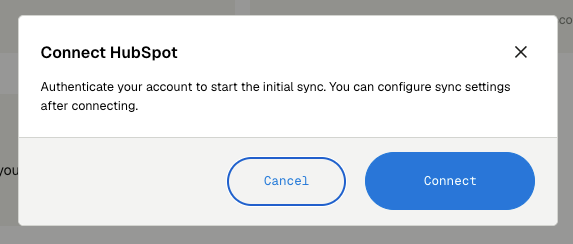
Authenticate with HubSpot. Click Connect — a HubSpot login window opens. Log in and grant Tabs access to your portal.
Let Tabs load your schema. Once you're connected, Tabs automatically pulls in your HubSpot objects and fields in the background so you can configure against your real data. This can take a few minutes — you'll see a "Loading schema…" screen in the meantime.
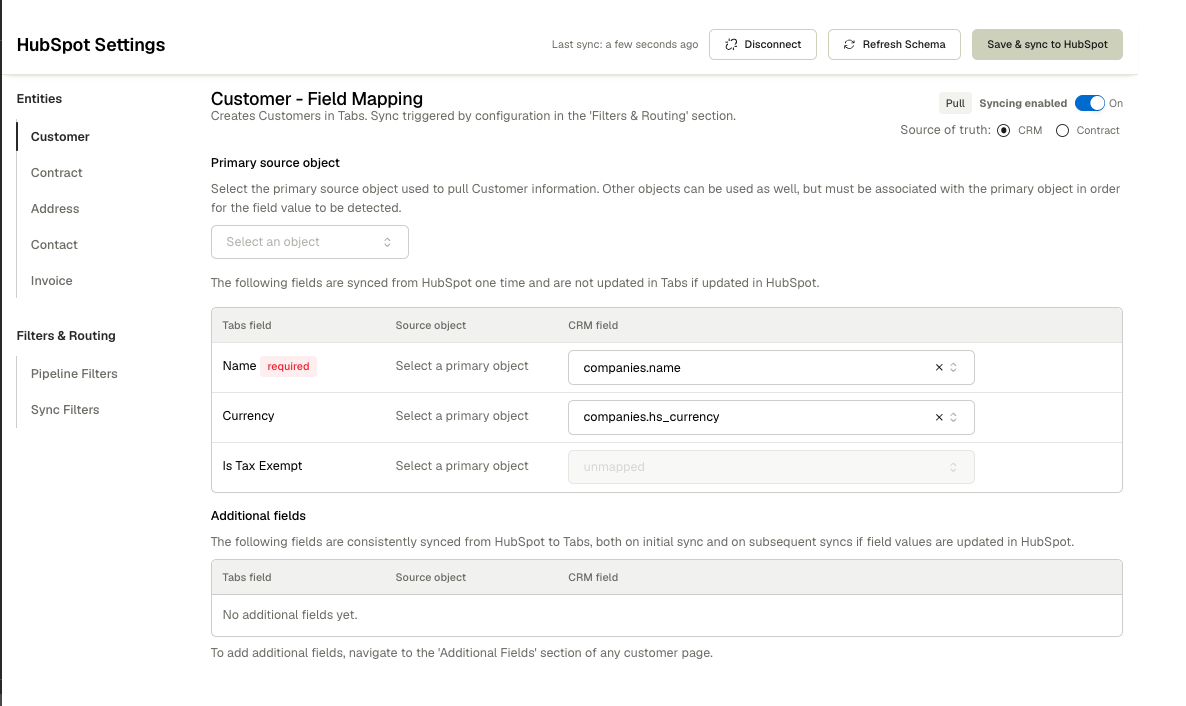
Configure your sync. Once your schema has loaded, you'll land on the HubSpot settings page. Here you choose which objects sync, where each is sourced from, how fields map, and which Deals are eligible to sync as contracts — including where contract documents should come from (attachments, notes, email attachments, a custom file property, or Quotes). Walk through the HubSpot Configuration Guide for a full breakdown of each setting.
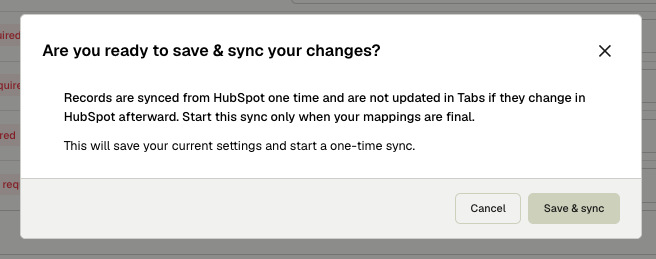
Save and sync. Once you've mapped all required fields, click Save & sync to HubSpot and confirm. This saves your configuration and kicks off the initial data pull — this is when your HubSpot data actually starts flowing into Tabs.
Refreshing your schema
If you add new fields or objects in HubSpot after connecting and don't see them available to map, use the Refresh Schema button at the top of the settings page. This re-fetches the latest objects and fields from HubSpot so they're available for mapping. The button (and Save & sync) are disabled while a refresh is running.

Ongoing sync
Once configured, Tabs keeps syncing automatically — HubSpot data pulls into Tabs, and invoice/line item data pushes back out, on a 4-hour cycle. You can also trigger a manual sync at any time from the HubSpot tile. The settings page shows the time of your last sync at the top.
Note: Other than Customer Additional Fields, all data syncs one time from the CRM to Tabs, and does not update in Tabs once initially synced. If updates are made to the configuration, this will apply to all syncs going forward, and will not retroactively apply to any previously synced fields.